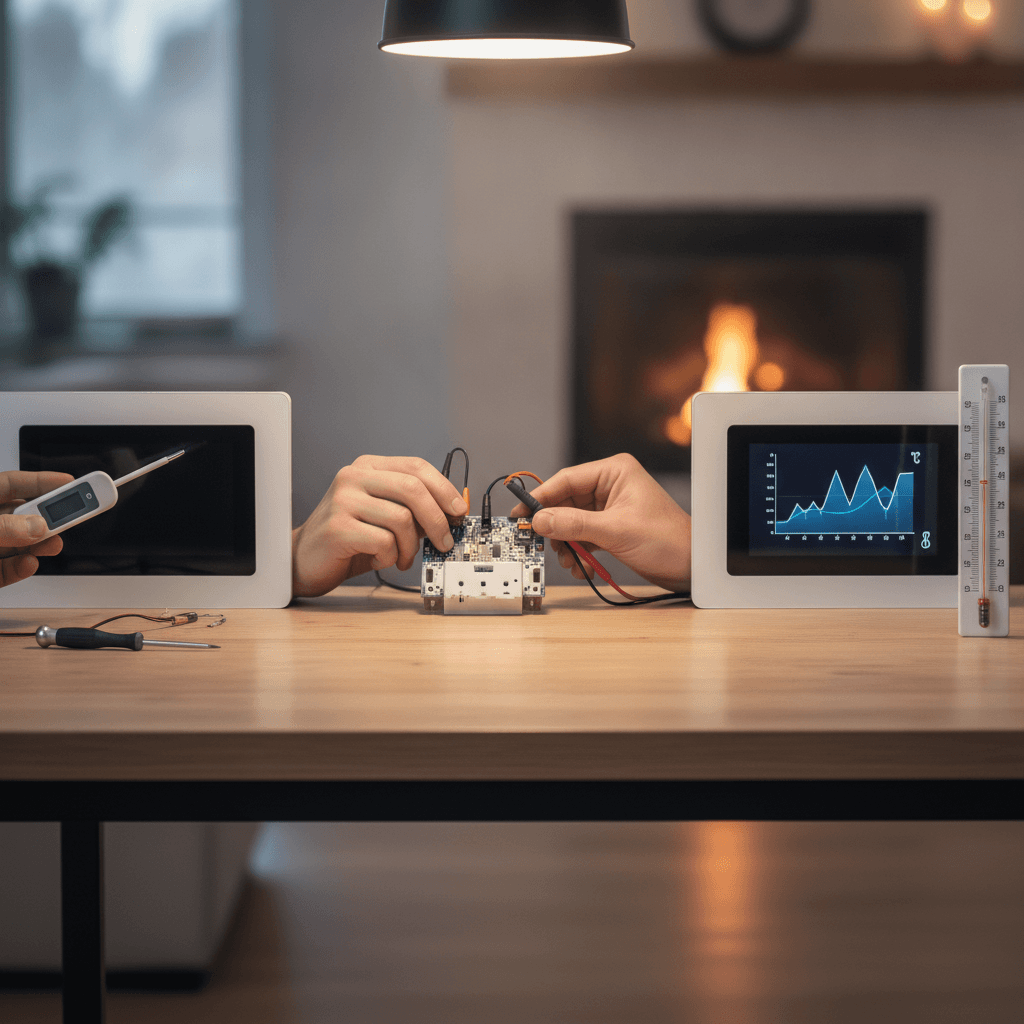
Having a comfortable home is something we all want. I know how frustrating it feels when your heating or cooling system just does not seem right. Sometimes the temperature on your thermostat does not match the actual temperature in your room. This common problem can lead to higher energy bills and less comfort for you and your family.
Many homeowners overlook thermostat calibration. This simple process can make a big difference. It helps your HVAC system run more efficiently. Also it makes sure your home stays at the exact temperature you set. I want to guide you through the important steps for achieving this accuracy.
Understanding these Thermostat Calibration Steps is key to a perfectly balanced home environment. This knowledge empowers you to take control of your indoor climate. It also helps you save money on your monthly energy costs.
Why Thermostat Calibration Matters for Your Home
A properly calibrated thermostat acts as the brain of your home’s HVAC system. It is responsible for sending precise temperature signals. When it falls out of calibration your system can misunderstand these signals. This causes it to work harder than necessary.
Imagine your thermostat thinks your home is cooler than it really is. It will then keep running the furnace longer. This wastes energy and money. The same applies to cooling in the summer. An inaccurate reading means your AC unit might run overtime, pushing your electric bill higher than it needs to be. I see many cases where a simple calibration could have prevented significant energy waste.
Over time thermostats can drift from their factory settings. This happens for several reasons. Dust buildup inside the unit can affect sensors. Minor electrical fluctuations can also play a role. Even direct sunlight hitting the thermostat can skew its readings. These small changes add up. They lead to noticeable differences in your indoor temperature. Recognizing the signs of an uncalibrated thermostat is the first step toward a more comfortable and efficient home.
Common signs include uneven heating or cooling. You might notice some rooms feel warmer or colder than others. Another sign is your system cycling on and off too frequently. It could also run for very long periods without reaching the set temperature. If you experience any of these issues then it is likely time to check your thermostat’s accuracy.
Recognizing the Need for Calibration
I always advise people to be observant about their home comfort. If you notice a consistent difference between your thermostat’s display and the actual room temperature, that is a clear indicator. For example, if you set your thermostat to 72 degrees but you still feel chilly, it might be off.
Another telltale sign is your energy bills suddenly increasing without a change in usage habits. An uncalibrated thermostat could be the culprit. It makes your system overwork itself. This uses more power. We want to catch these issues early. We want to address them before they turn into bigger problems. This proactive approach saves you both discomfort and money in the long run.
Tools You Need for Accurate Thermostat Calibration
Before diving into the Thermostat Calibration Steps, it is wise to gather your tools. Having the right equipment makes the process smoother and more accurate. I always recommend having these items on hand for any home maintenance task. This preparation saves time and prevents interruptions.
You will need a reliable, accurate thermometer. I prefer a high-quality digital thermometer. It gives you a precise reading of the room’s ambient temperature. This is crucial for comparison. Make sure it has fresh batteries. This ensures it works correctly for your calibration task. Do not rely on an old or faulty thermometer.
Next you will likely need a small screwdriver. Many thermostats have small screws. These hold the cover in place or are used for calibration adjustments. A set of precision screwdrivers often comes in handy. You might encounter Phillips head or flathead screws of varying sizes.
Finally a soft brush or compressed air can is useful. Dust and debris are common enemies of thermostat sensors. Cleaning these can sometimes resolve minor inaccuracies without even needing calibration. Always work carefully around delicate electronic components. You want to avoid causing any damage.
Choosing the Right Thermometer
Accuracy starts with your reference point. I cannot stress enough the importance of a good thermometer. An old mercury thermometer might be fine. But a new digital one gives you a quicker and more exact reading. You can place it near your thermostat for the most relevant measurement. Give it about 15 minutes to adjust to the room temperature before reading it. This ensures you get a true reading. This true reading helps you calibrate your thermostat correctly.
Step-by-Step Thermostat Calibration Process
Now we get to the core of improving your home comfort. Following these Thermostat Calibration Steps will help ensure your system works as intended. I have seen many people achieve excellent results by carefully going through this sequence. It starts with observing your current situation.
First turn off your heating or cooling system. Let your home’s temperature stabilize for at least 15 to 30 minutes. This allows the air to settle. It also provides an accurate baseline reading. Place your accurate thermometer next to your thermostat. Allow it to sit there for about 15 minutes. Note the temperature displayed on both your thermostat and your separate thermometer. This comparison is vital for determining the degree of inaccuracy.
The next step depends on your thermostat type. For older mechanical thermostats there is usually a small screw or lever. You can use a tiny screwdriver to gently adjust this. Turn it until the thermostat’s display matches your reference thermometer. Some digital thermostats have a calibration setting in their menu. You might need to consult your owner’s manual for specific instructions. I always recommend keeping those manuals handy.
After making an adjustment wait another 15 minutes for the temperatures to stabilize. Then recheck both readings. You might need to repeat the adjustment process a few times. This ensures you get it just right. The goal is for both thermometers to read the exact same temperature.
Taking Initial Temperature Readings
I start by placing my trusted digital thermometer right next to the thermostat. I make sure it is not in direct sunlight. I also ensure it is away from any drafts. These factors can skew the reading. I let it sit for a good twenty minutes. This gives it enough time to fully acclimate to the room’s ambient air temperature. Then I jot down both the thermostat’s reading and the digital thermometer’s reading. For instance my thermostat might say 70 degrees. But my digital thermometer shows 73 degrees. This tells me my thermostat is reading low by 3 degrees. This initial comparison sets the stage for accurate adjustments.
Adjusting the Calibration Setting
Once I know the temperature difference I can make the adjustment. For older thermostats, I gently remove the cover. I usually find a tiny screw labeled “calibration” or a small adjustment lever. If my thermostat reads 70 and the room is 73, I need to adjust the thermostat to read 73. I turn the screw or move the lever slowly in the direction that raises the displayed temperature. For modern digital thermostats, I often navigate through the menu settings. There is usually a “calibration” or “offset” option. I can then digitally add or subtract degrees to match the actual room temperature. It is important to make small adjustments. I always proceed slowly. This prevents over-correction.
Verifying Your Adjustments
After I make an adjustment I never assume it is perfect. I always put the thermostat cover back on. Then I let the system settle for another 15 to 20 minutes. I repeat the initial temperature reading process. I compare the thermostat’s new reading with my independent thermometer. If there is still a discrepancy I make another fine adjustment. Sometimes it takes two or three tries to get it spot on. I want both readings to be identical. This careful verification step ensures my efforts truly lead to a calibrated thermostat. This extra attention to detail really pays off.
Troubleshooting Common Calibration Issues
Even after following the Thermostat Calibration Steps you might still encounter problems. This is normal and there are a few common issues I often see. One frequent problem is the thermostat not responding to adjustments. This could indicate a deeper electrical problem or a faulty sensor within the unit. If you adjust the calibration screw or menu setting and the display does not change at all that is a red flag.
Another issue is an inconsistent reading. You might calibrate it perfectly one day. Then the next day it is off again. This could point to environmental factors. Drafts from windows or doors can affect thermostat performance. Also, direct sunlight on the unit can create false readings. I always suggest checking the placement of your thermostat. Make sure it is on an interior wall. It should be away from heat sources or strong air currents.
If you find that your thermostat is old and visibly damaged it might be time for a replacement. Sometimes the internal components simply wear out. No amount of calibration will fix a broken unit. Consider the age of your thermostat. Newer models often offer greater accuracy and advanced features. They also typically have easier calibration methods.
When you have tried all the calibration steps and troubleshooting tips and still have issues it is time to call a professional. HVAC systems are complex. Some problems require specialized tools and expertise. An HVAC technician can diagnose underlying electrical faults or mechanical failures. They can also recommend suitable replacement options if necessary. Knowing when to seek professional help saves you time and prevents further damage to your system. When you need to hire the best HVAC contractor company, the full rundown is here.
Maintaining Your Thermostat’s Accuracy
Calibrating your thermostat is a great start. But ongoing maintenance is what truly preserves its accuracy. I always tell my clients that a little proactive care goes a long way. It helps avoid future calibration headaches. It also extends the life of your heating and cooling equipment.
Regular cleaning is one of the easiest and most effective maintenance tasks. Dust can accumulate inside your thermostat. It covers the sensors. This makes them less sensitive to temperature changes. I suggest carefully removing the thermostat cover every few months. Then use a soft brush or a can of compressed air. Gently clean away any dust or debris. Be careful not to touch the delicate electronic parts directly. This simple step keeps the internal components free from interference.
Another important aspect is thermostat placement. I mentioned this earlier but it bears repeating. Your thermostat should be located on an interior wall. It needs to be away from direct sunlight. It should also be away from drafts. Avoid placing it near heat sources like lamps or appliances. These can cause it to read inaccurately. Even a small change in its environment can impact its performance. We want it to measure the true average temperature of your living space.
Finally consider an annual professional check-up for your entire HVAC system. During these visits technicians can include thermostat calibration as part of their service. They have specialized tools to fine-tune your unit. They also check for any underlying issues that could affect accuracy. This ensures your system remains in top condition year-round. This preventative care makes a big difference.
Regular Cleaning Practices
I make a habit of cleaning my thermostat at least twice a year. I gently pop off the cover. Then I use a soft artist’s brush to dust around the sensitive components. For hard-to-reach spots, compressed air works wonderfully. I always hold the can upright to avoid spraying propellant onto the electronics. This simple routine keeps the temperature sensors clear. It helps them provide accurate readings. A clean thermostat is a happy thermostat. This small effort prevents dust buildup from causing false temperature reports.
The Benefits of a Perfectly Calibrated Thermostat
Achieving a perfectly calibrated thermostat brings numerous advantages to your home. I have seen firsthand the positive impact this simple adjustment can have. It is not just about numbers on a screen. It is about enhancing your daily living experience and optimizing your home’s performance.
First you will experience consistent comfort. No more hot spots or cold drafts in different rooms. Your home will maintain the temperature you set. It will do this precisely. This means you feel comfortable throughout the day and night. This steady temperature makes a noticeable difference. It improves your overall sense of well-being in your own space. I find this especially valuable during extreme weather conditions.
Second, energy efficiency significantly improves. When your thermostat accurately measures the room temperature your HVAC system runs only when needed. It does not overwork itself. This reduces unnecessary energy consumption. The result is lower heating and cooling bills. I often see people save a surprising amount of money each month just from this one change. This financial benefit is a strong motivator for many homeowners.
Finally a calibrated thermostat contributes to a longer lifespan for your HVAC system. When your system operates efficiently it experiences less wear and tear. Constant cycling on and off or running too long puts stress on components. An accurate thermostat reduces this strain. It helps your furnace and air conditioner last longer. This means fewer costly repairs and replacements down the road. It is a smart investment in your home’s future.
Final Thoughts on Thermostat Accuracy
Mastering the Thermostat Calibration Steps is a valuable skill for any homeowner. I believe it empowers you to take charge of your home’s comfort and efficiency. We explored why accurate temperature readings are so important. We also discussed the simple tools you need for the job. Going through the process of taking readings and making adjustments helps ensure your heating and cooling system works optimally. We also covered common issues and how to maintain your thermostat’s accuracy over time. These small efforts create a big impact.
Remember a well-calibrated thermostat leads to a more comfortable home. It also results in significant energy savings. You will notice your system runs more smoothly and consistently. This reduces the stress on your HVAC equipment. This prolongs its life and keeps maintenance costs down. I encourage you to check your thermostat’s accuracy periodically. Make it a part of your regular home maintenance routine. Do not let minor inaccuracies lead to wasted energy and discomfort.
If you encounter challenges or suspect deeper issues do not hesitate to reach out to a professional. Sometimes a skilled technician is necessary for complex problems. Taking these steps ensures your home remains a haven of comfort and efficiency. Start today and enjoy the benefits of a perfectly balanced climate control system.